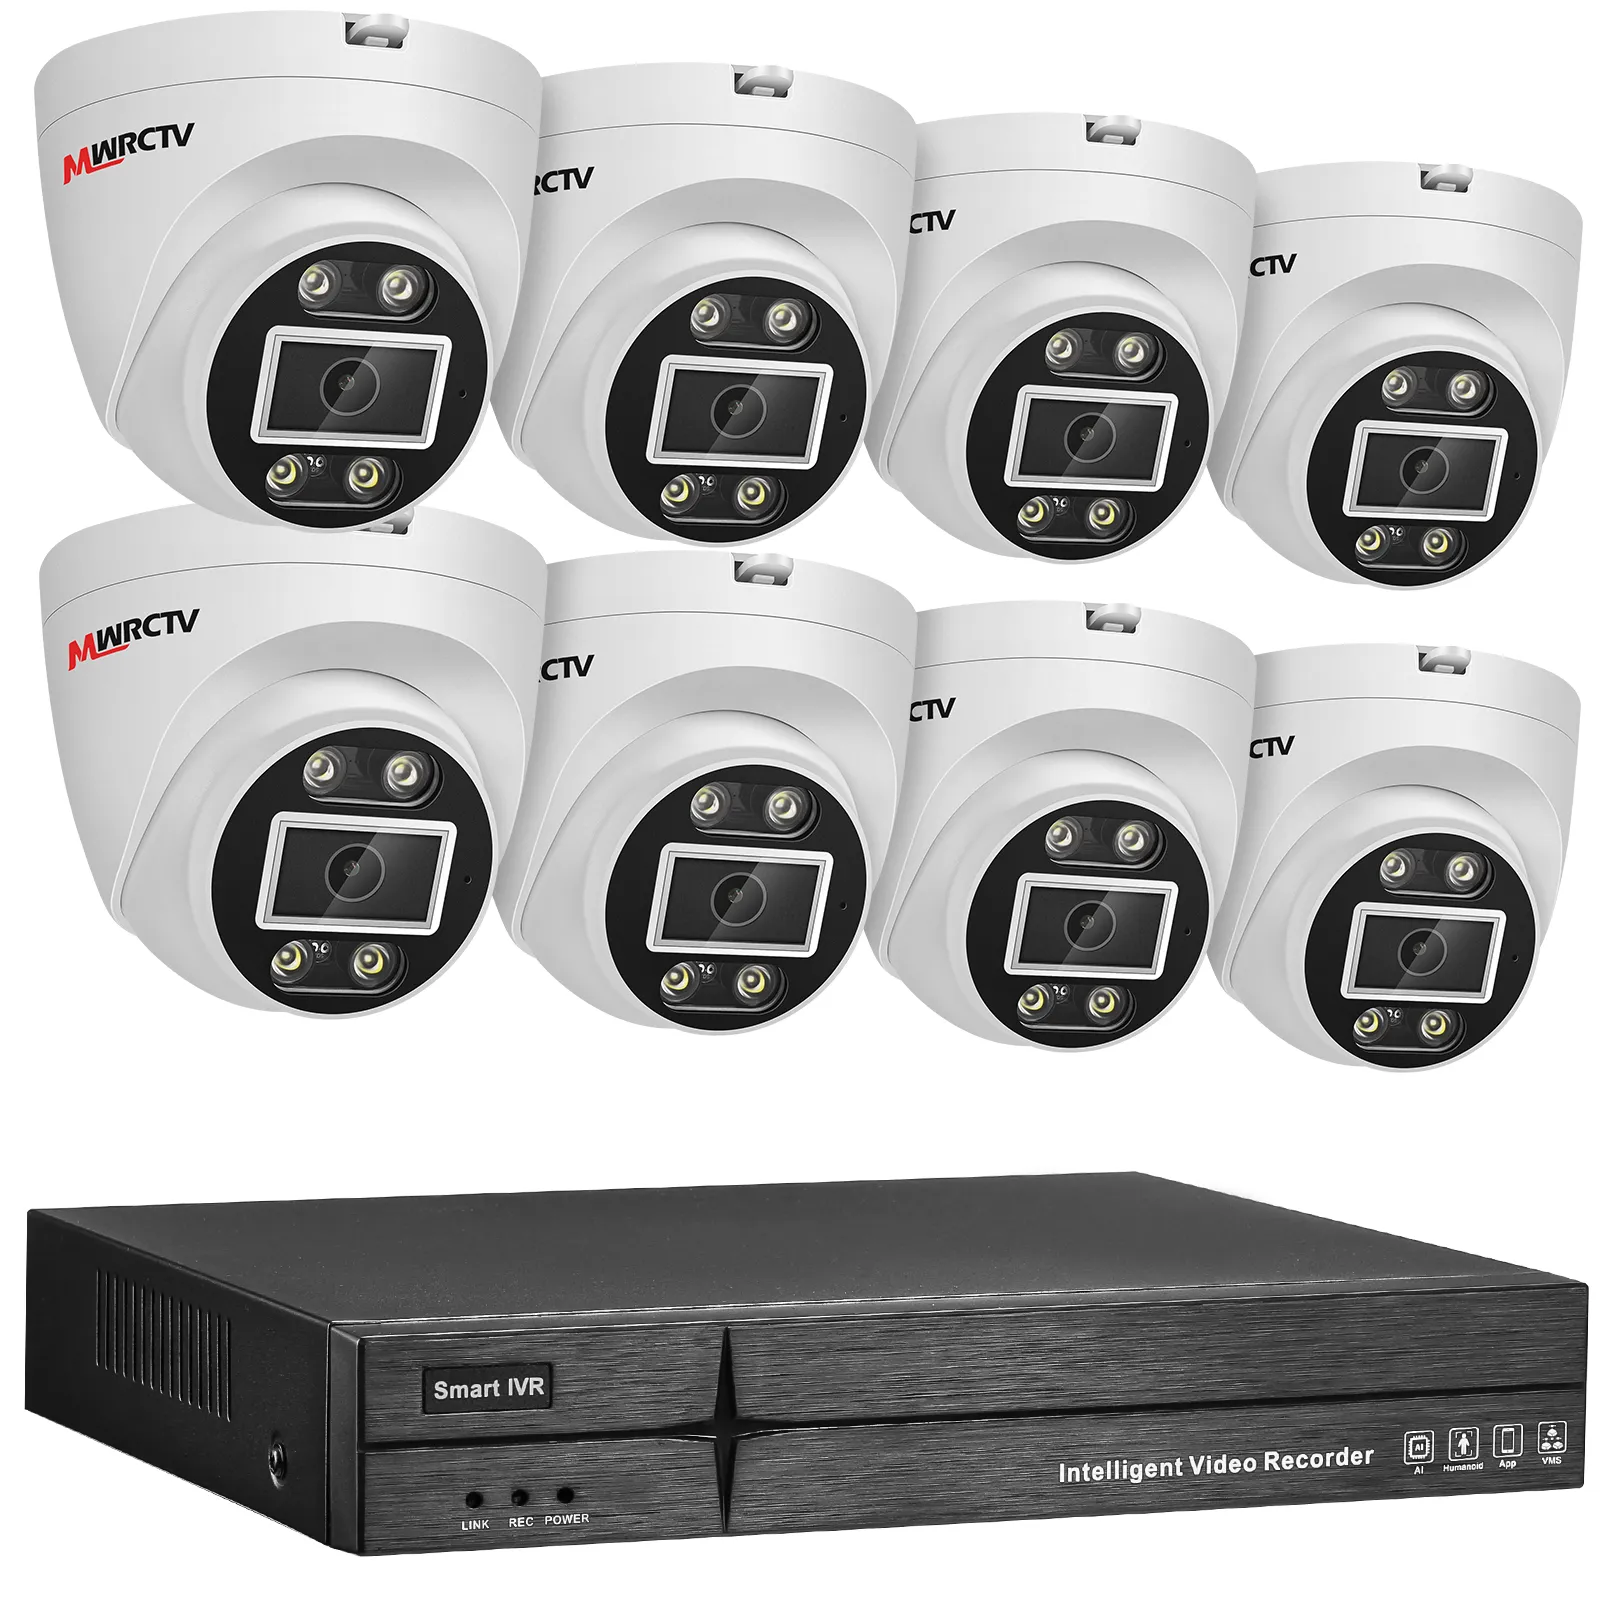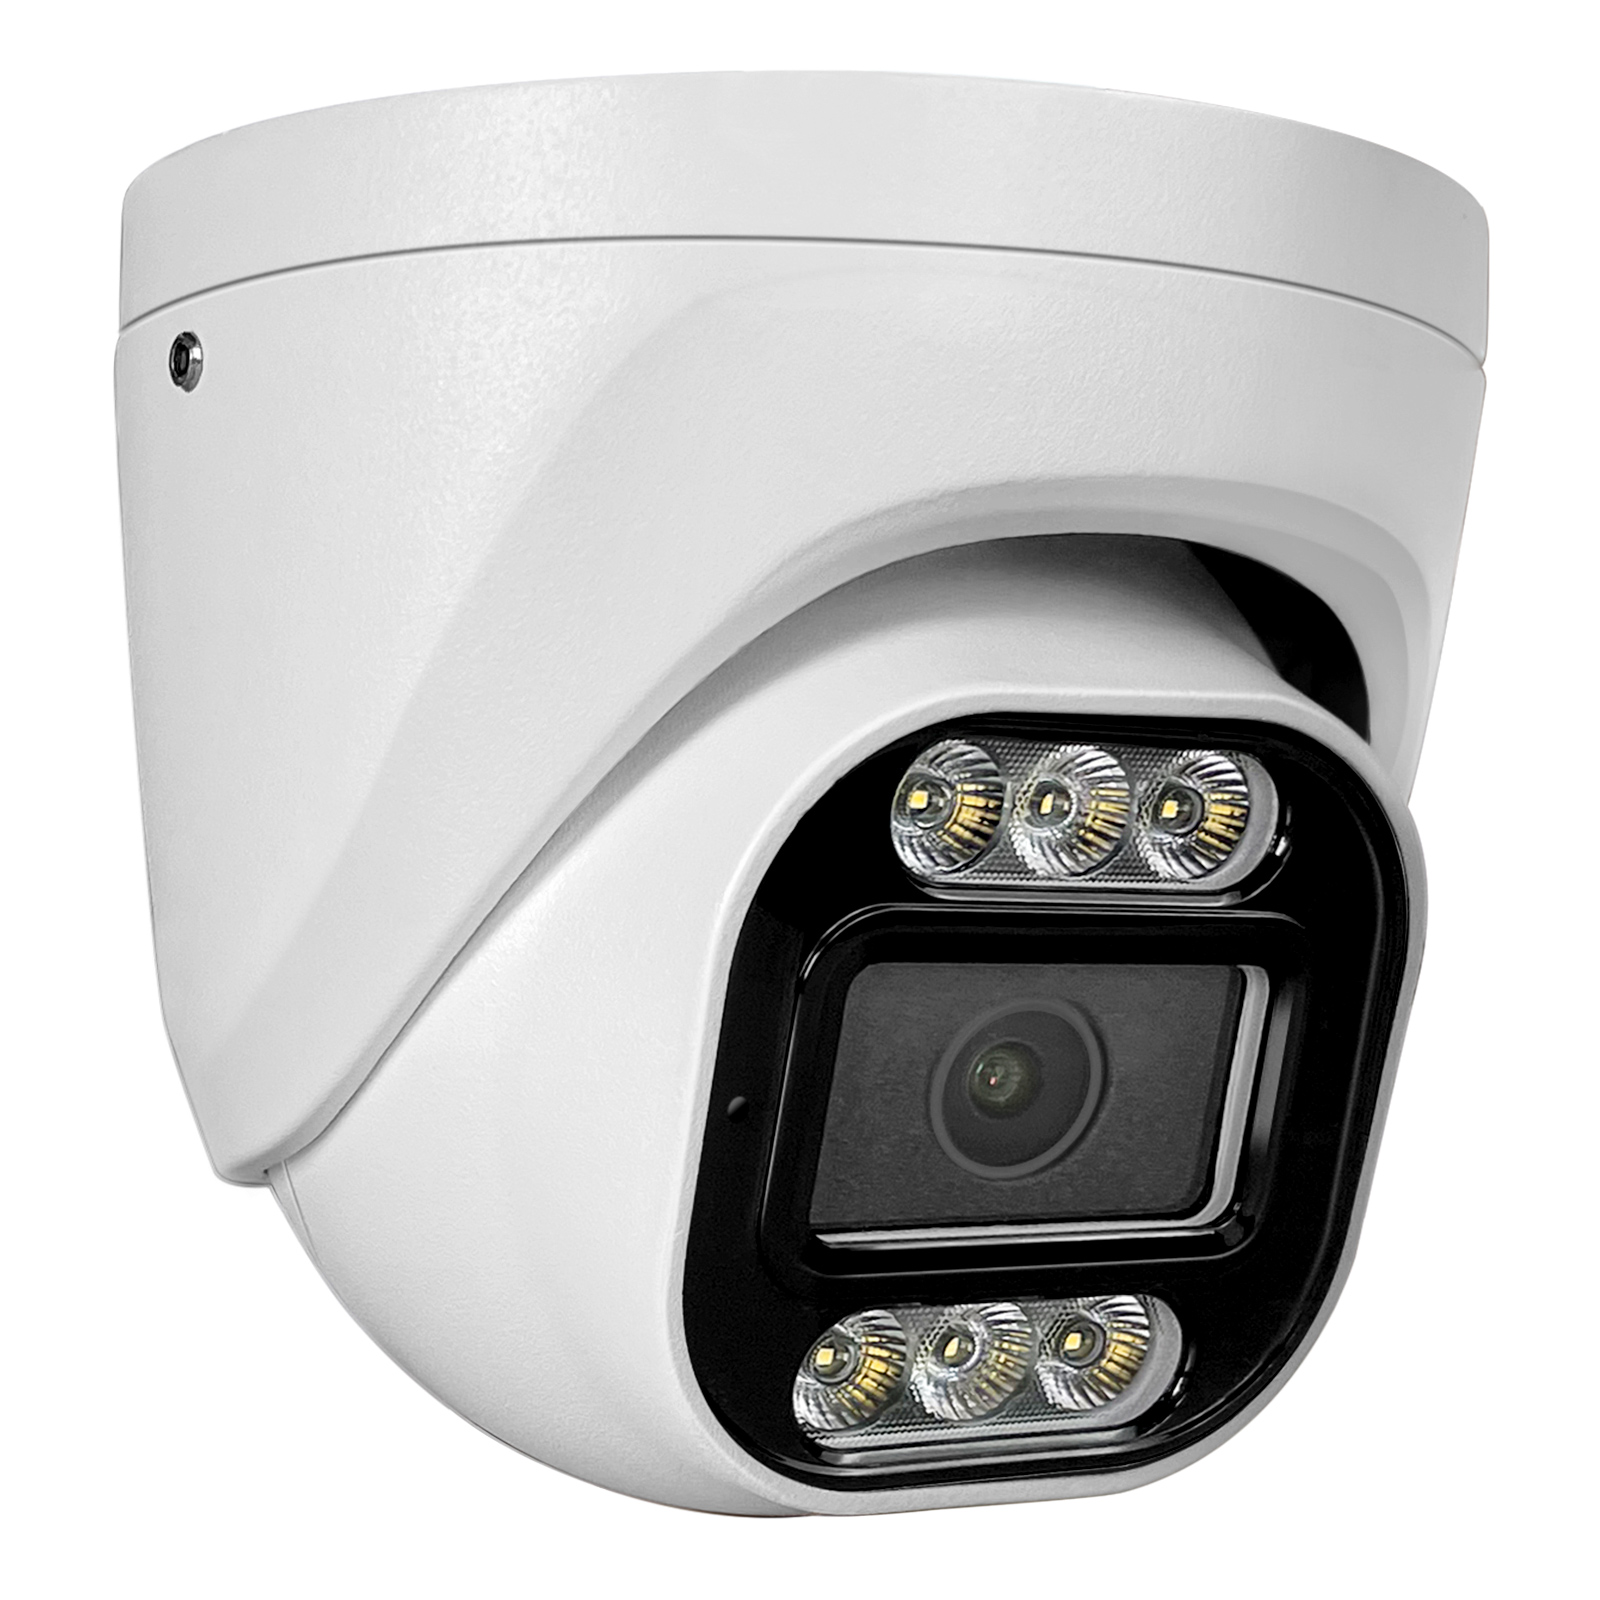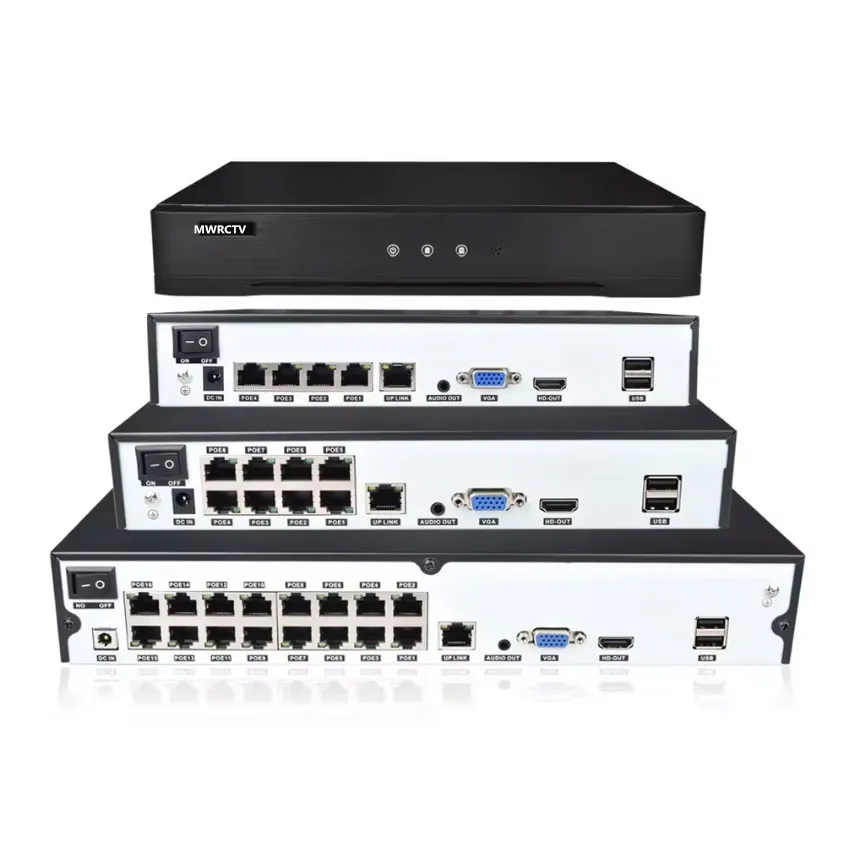
IPC-MN xxx Series POE Camera
Note:</strong> The camera has started DHCP, and all the settings have been completed, usually do not need any modification, only need to connect the camera to the router or switch network, the camera can automatically get your LAN IP address. Use Use your mobile phone to scan the cloud ID , can monitor the image through mobile phone APP. or search camera IP through NVR, add camera IP to NVR, you can monitor images through NVR.
Detailed manual of the camera menu, please click on the link.
IPC-MNxxx Series Camera User Manual
Detailed APP manual, please click on the link.
SeeEasy APP User Manual
How to Browse Camera Via Smartphone?
Enter the mobile app and click the scan button in the upper right corner to scan the “Cloud ID”QR code in the camera box or manual. Please follow the steps below to add the camera to your mobile app.
Step:
1: Download “SeeEasy” app from Apple or Google Store.![]()
2: Create new account.Click E-mail,Click Sign up now.Then Enter your email address to receive a verification code. Set up your password, and you can log in to the app. ![]()
![]()
3: Scan the “cloud ID” QR in the camera box.![]()
4: Customizable camera naming,then click Get Started. ![]()
5: Click the image to access the monitoring interface.![]()
![]() Please check the meaning of the red letter annotations.
Please check the meaning of the red letter annotations.
- ①HD (Main stream) and SD (Extra stream) switch, if the network is smooth, you can use HD (Main stream).
- ②Click to listen to the sound.
- ③If camera has speaker function,you can talk.
- ④Supports split-screen viewing for multiple connected cameras.
- ⑤Switch to full screen view.
How to Browse IPC-MNXXX Series Camera via Windows PC?
How to use RTSP?
Main stream
- rtsp://camera_ip:554/ch01.264
Extra stream
- rtsp://camera_ip:554/ch01_sub.264
Camera Upgrade Software User Guide
If you want to modify some functions of the camera, you can download the software, install it on your computer, and modify it through the software. (The software is only compatible with Windows PCs; all operations are only possible on a Windows PC.) Software Download.
Steps:
1. Download the Upgrade software to a Windows PC on the same network as the router where the camera is installed (the camera must be on the same network as the Windows PC).
2. Unzip the downloaded software to your PC, open the folder, find the Upgrade.exe file, and double-click to launch the software (this is portable software; no installation is required, just double-click to launch).
3. Once the software starts, click Search to automatically search for cameras on the local network. After a short wait, the IP addresses and information of all cameras will be displayed in the software.
4. Commonly used camera functions are already enabled and do not require further modification. If you are unfamiliar with a function, please do not modify the settings arbitrarily.
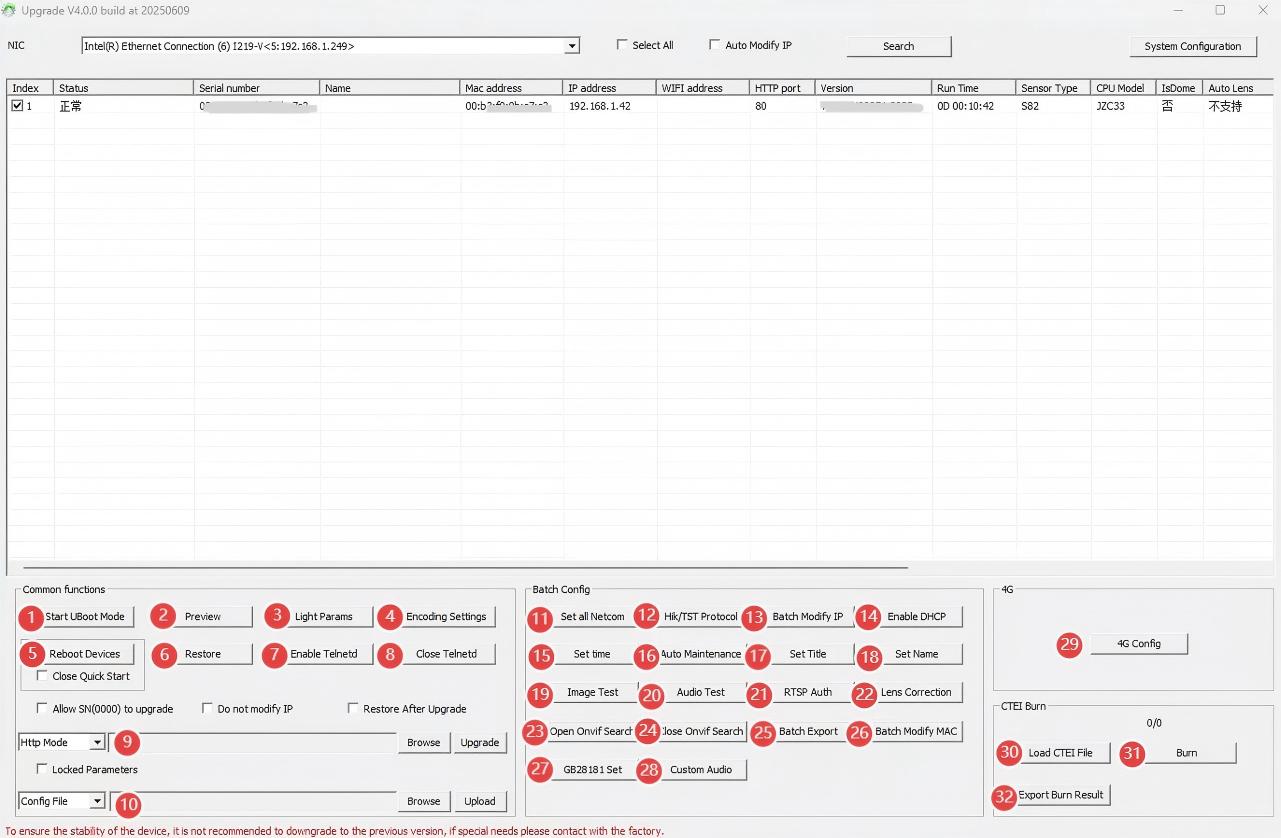
MNxxx camera Upgrade software
Button introduction
①Start Uboot Mode: No change required
②Preview: View live footage
③Light Params: can be modified light type and mode
④Encoding Setting: can be modified main and Sub Stream Resolution and Encoding Format
⑤Reboot Devices: Reboot Devices
⑥Restore: Simply Restore,All Restore,Legacy Restore,Reset Key Restore
⑦Enable Telnetd: No change required
⑧Close Telnetd: No change required
⑨Firmware Upgrade: The camera we send you is the latest and most stable firmware, and usually does not need to be updated.
⑩Config Upgrade: Camera Config Upgrade
⑪Set all Netcom: No change required
⑫Hik/TST Protocol: can enable the Hik protocol
⑬Batch Modify IP: can batch modify IP address
⑭Enable DHCP: DHCP enabled by default, and if you want to change it to a fixed address, you can enter it manually.
⑮Set time: can synchronise PC time, or router time
⑯Auto Maintenance: No change required
⑰Set Title: can set a title for the camera
⑱Set Name: can set a name for the camera
⑲Image Test: Camera images can be monitored directly from a PC
⑳Audio Test: can test the audio
㉑RTSP Auth: Configure whether username and password authentication is required when accessing the RTSP stream.
㉒Lens Correction: No change required
㉓Open Onvif Search: Once enabled, the camera can be automatically detected and added by ONVIF-compatible network video recorders (NVRs) or third-party management software.
㉔Close Onvif Search: Closing it conceals the device
㉕Batch Export: No change required
㉖Batch Modify MAC: No change required
㉗GB28181 Set: No change required
㉘Custom Audio: No change required
㉙4G Config: No change required
㉚Load CTEI File: No change required
㉛Burn: No change required
㉜Export Burn Result: No change required

